I've always wanted to try chalkboard paint! You too? Well, you'll be happy to know that it's quick, easy, and from what I've read, foolproof. This old worn play table I purchased from Pottery Barn Kids 12+ years ago became my first project, and I'm pleased with the results. Here's a quick "before" photo plus DIY instructions, followed by a couple of photo of the finished table.
BEFORE:
Over the years, our table had acquired slight blue marker and ink stains on its surface, and at one point I'd even covered it with decorative contact paper to give it a new look. My first step in refreshing it was to peel off the leftover contact paper, which left a sticky residue that I was mostly able to get off with Goo Gone multi-purpose cleaning spray and my husband's utility razor / scraper. I didn't bother getting ALL the residue off, because I'm so NOT a perfectionist, and I was ready to move on!
1. With so many nicks, scratches, and a bit of glue residue left on the table top, it was important for me to focus on obtaining a smoother surface. I used a sheet of medium-grit sandpaper to make the table top as smooth as possible. It never felt "perfect" to me, but I moved on to the next step anyway, and in the end, it came out just fine.
2. One rule of thumb when painting is to always start with a clean project. I wiped down the table with soap and water, then gave it time to fully dry.
3. I decided to re-paint the bottom of the table before doing the chalkboard top, and I'm so glad I did. A fresh coat of white semi-gloss paint really made a difference! I actually used two coats of white paint, as I wanted the best, brightest look. Plus, since I didn't use primer, I wanted to be sure to cover the ink / marker stains that were on the legs. Note: I didn't use any of the white paint on the table top.
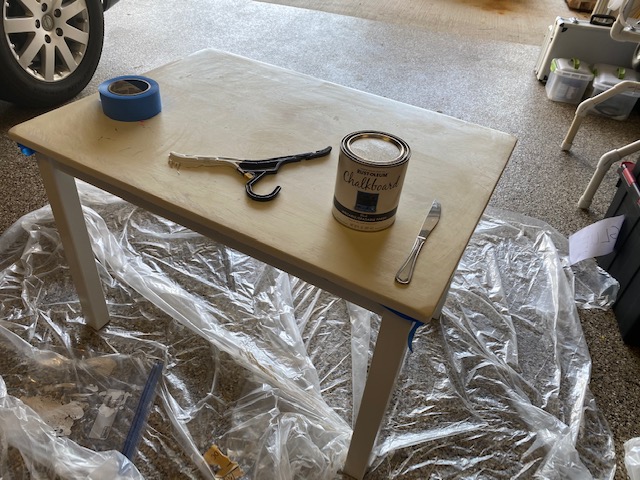
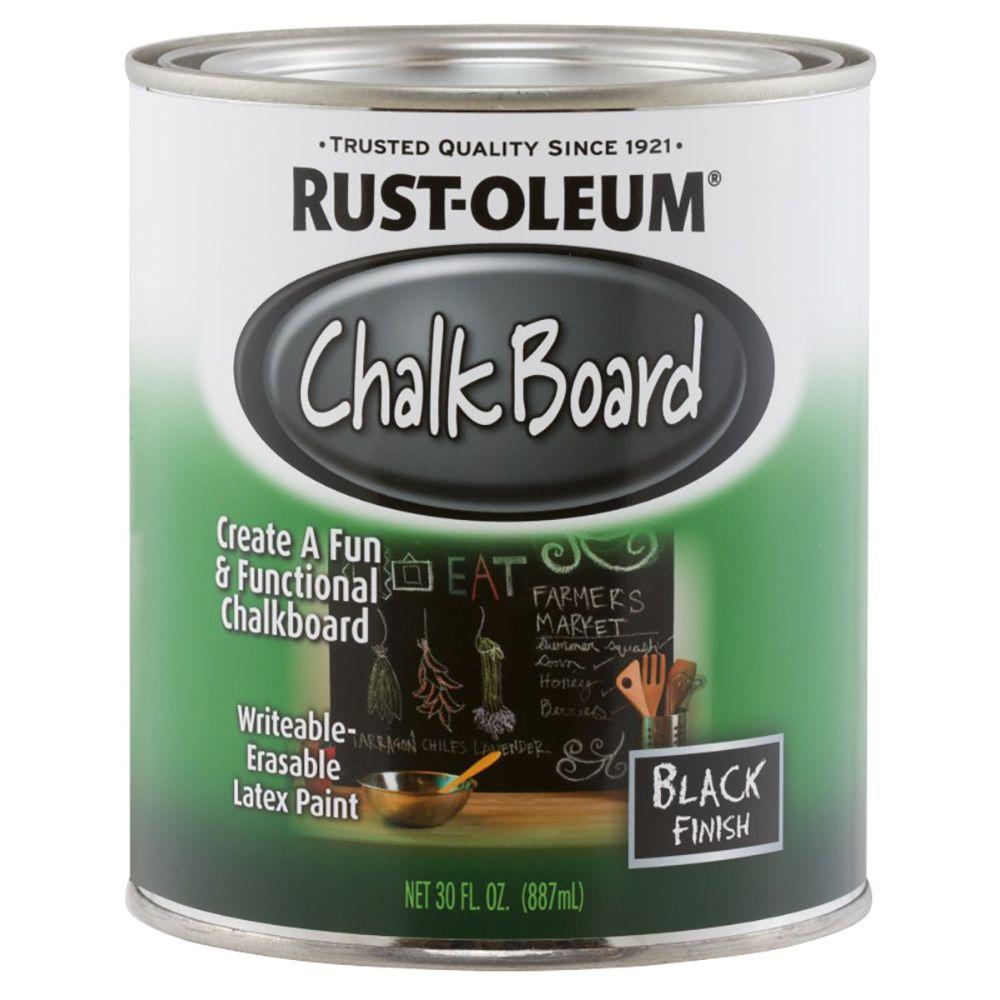
4. After the white paint was fully dry, I used masking tape to mask my edges before using the black chalkboard paint. Please note that "chalkboard" paint (intended to be written on with chalk) is not the same thing as "chalk" paint (intended to give your project a milky / chalky finish but not intended to be written on with chalk). I used this black Rust-oleum chalkboard paint, and it was $11 at The Home Depot.
I had read ahead that a primer wasn't necessary, and I'm always looking to go the easy route, so naturally, I omitted it.
I used a regular synthetic bristle paintbrush for my first coat, but the brush strokes were a bit too obvious. Although the bristle brush worked well for the bottom part of the table, I really wanted a super smooth finish for the chalkboard part. So after the first coat dried, I went back with a second coat using a cheap $4 foam roller. It worked perfectly for a smooth finish! I gave it a third coat the next morning, just for kicks. (I could have gotten by with 1-2 coats had I used a roller brush to begin with.) Note: If you use a regular bristle brush for this project or any other project, be sure to get one of decent quality. Mine cost $10 and worked well. Cheaper brushes can drop bristles into your paint, and you'll be sorry. But as mentioned above, I found my roller brush to be a better brush for this particular project anyway.
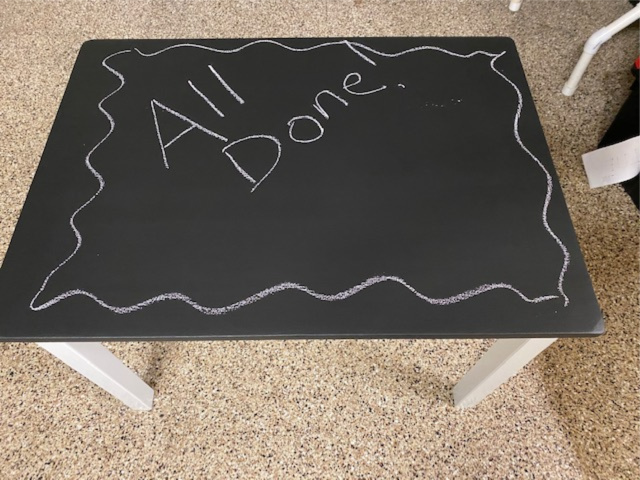
5. Ta-da! The table is all finished and ready to be written on!
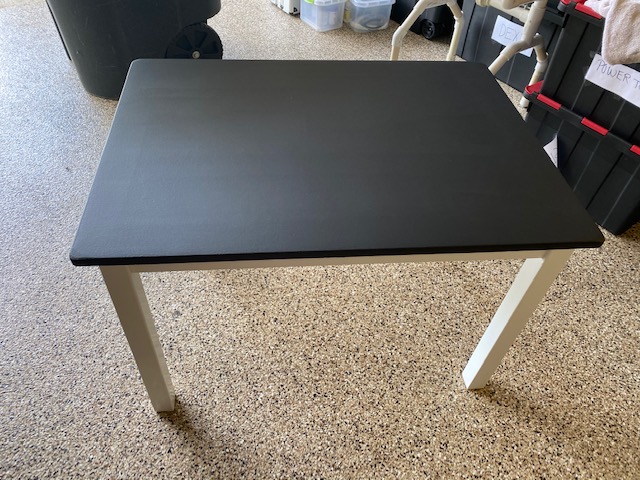
AFTER: