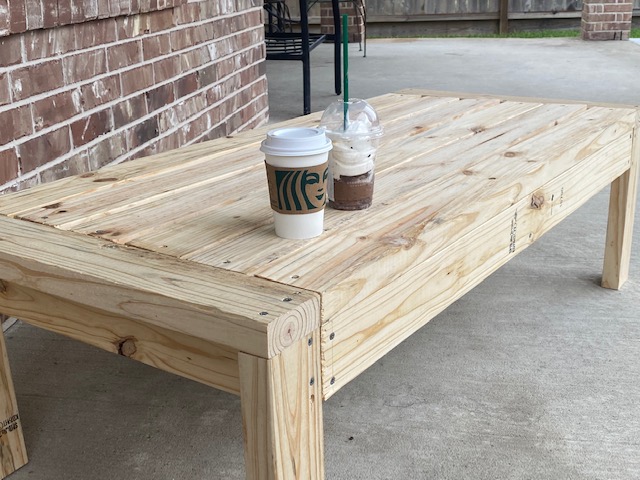
Have you tried your hand at anything new this summer? We have! Last week, my teenager and I built an outdoor coffee table, and though it's not perfect, I couldn't be prouder. It's so easy - and let me tell you - I don't own any special woodworking materials other than an old hand saw I purchased a decade ago (which I ended up not using). Even still, with about $35 worth of materials and a bit of elbow grease, our table was good to go. You can build one too!
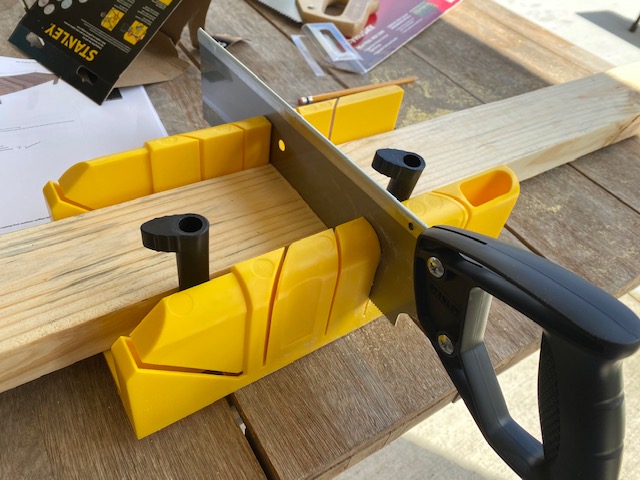
One day on a whim, I went to The Home Depot and picked up a total of seven 2x4 boards @ 8 ft long and a single box of screws. Just a few hours later, we'd transformed those boards and screws into a nice, sturdy table that we've used every day since. It's a very easy build, and the most time-consuming part for me was cutting the wood manually. I did pick up a miter box to help me (not included in the $35), and I highly recommend that you purchase one too if you don't have a power saw.
The miter box allows you to cut your wood at angles, but no angle cuts are required for this table. My sole purchase for the miter box was so that I would cut my wood as straight as possible, and the box worked wonders. It was $15 and actually came with its own saw, and I found that the included saw worked better at cutting than the one I already had, so I used it. Simply put, the miter box has pins that secures the wood in place and slots that guide the saw to make a straight manual cut. It's genius!
When searching online for woodworking plans, I stumbled upon Ana White's website which features dozens of free woodworking plans for various skill levels. The site is a goldmine! The Outdoor Coffee Table plans can be found here, but wait! Here are a few tips you’ll need to know first:
-
The plan will tell you what size wood to purchase, which screws you’ll need, and the dimensions of each cut. It’s an easy-to-follow list of instructions with diagrams, and you WILL succeed!
-
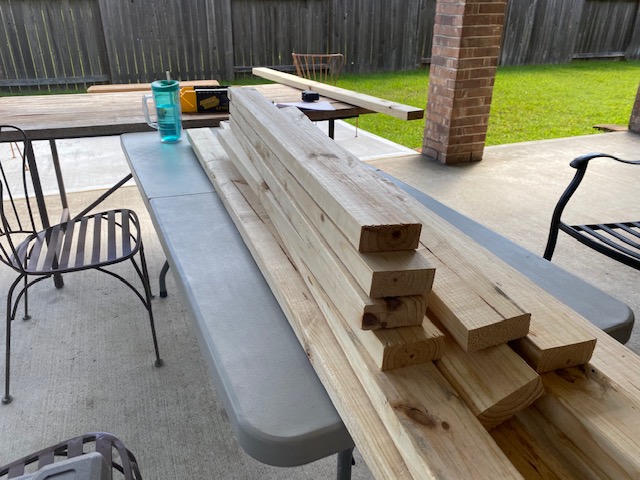
The plan requires seven 2x4 boards @ 8 feet long. When you visit your local home improvement store (most likely The Home Depot or Lowe's), you'll find the boards you need in the Lumber section. Rather than use a regular shopping cart, grab one of those open deck panel trucks / dollies / carts. I’m not sure what they’re called, but it'll make towing your boards through the store a lot easier and safer.
-
In the store, you’ll see all different kinds of boards, and a variety of ones with the same dimensions as stated in the plan (2x4 @ 8 feet). Ask a store employee to help you find the specific boards right for your project. We ended up getting kiln-dried Southern Yellow Pine boards at about $3.97 per board, because I was told that it’s better for outdoor construction.
-
Take your time to choose the boards carefully. Since I knew this was going to be a novice project that we would likely just chunk in the trash, I didn’t want to put a whole lot of additional effort into choosing the boards. My husband, on the other hand, was with me when I bought the boards, and he insisted that we take our time, choosing only the best-looking boards and making sure they were mostly straight and not too curved. (These are actual wood board from trees – so no two are alike, and none are “perfect.”) Take care to inspect your boards for defects and cracks. You’ll be happy that you did. Our table ended up looking better than I’d anticipated, and there’s no way I’ll be chunking it after all. To check a board for straightness, rest one end of the board on the floor and hold the other end at about face level, then close one eye and look down along the board.
-
Have the home improvement store make some of your cuts for you. They are usually able to assist you with cutting, but don’t expect them to make ALL your cuts (this is your project, after all, not theirs). Since we had 7 boards, we asked them to cut all 7 boards at 47”, which took care of just under half of our total number of cuts. The rest, we cut at home on the back porch.
 NOTE: I thought that I would end up doing most of the work, but my daughter actually did half or maybe more! Maybe this is a proejct your teen would enjoy too!
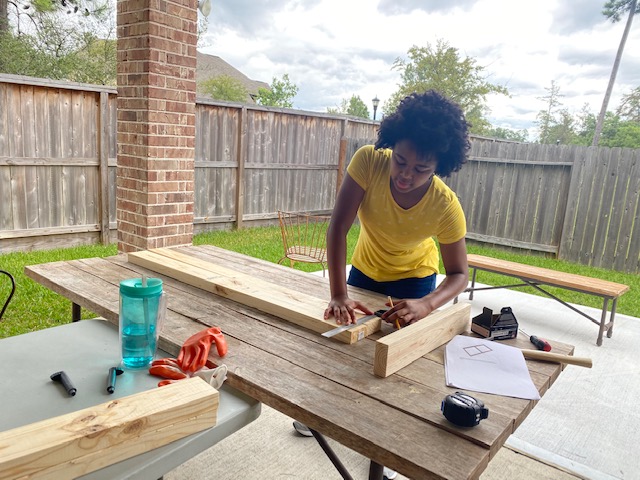
-
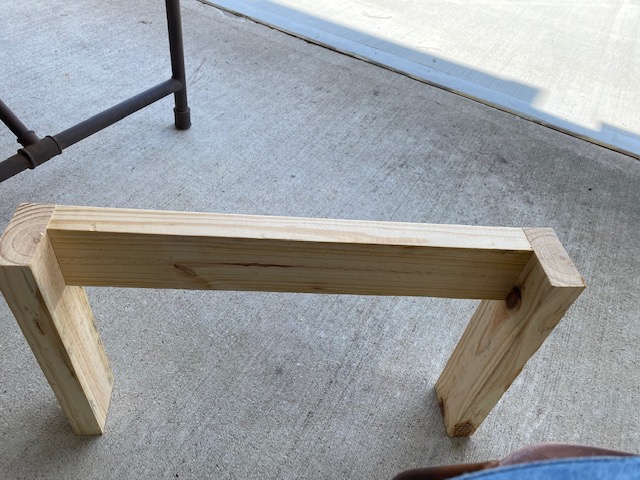
When you get to Step 2 in the plans, pay attention to where you put the screws so that you won’t accidentally drive a screw into an existing perpendicular screw. Seems like common sense, but if you’re a novice like me, you might not even think of it.
-
Use clamps if you can. Clamps come in all types and sizes, and some can be used to help stabilize your boards while you work. We didn’t use clamps, so my daughter and I just took turns holding the boards together while the other person drove the screw in place. It worked fine, but the boards wanted to slip sometimes. My husband did assist us at a couple of points, and his strength in holding the boards was very helpful. I’m convinced a creative use of clamps would have been even better.
-
When you finish building, use sandpaper to smooth your table! I’ve seen experts suggest different grits of sandpaper for this type of project, so do your own research to determine which works best. We used sheets of 150-grit sandpiper for the entire job, and it turned out fine. If you have a power orbital sander, by all means, use it!

-
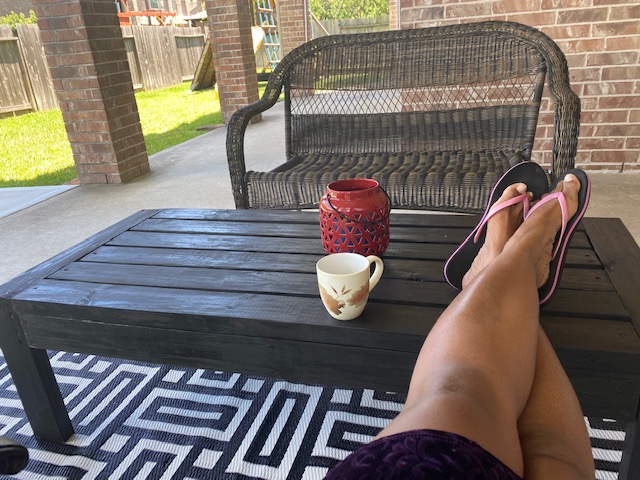
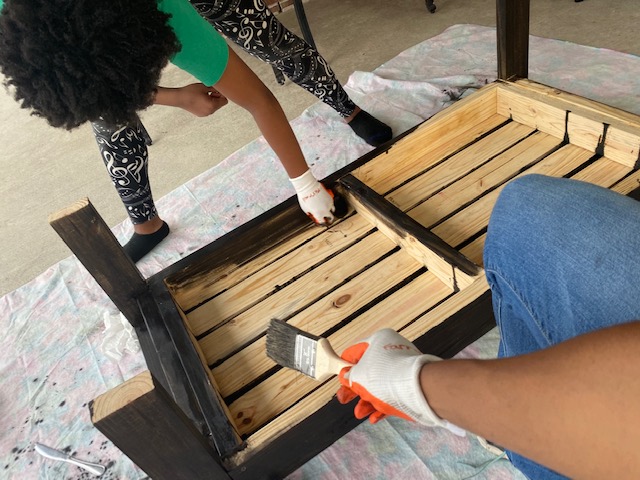
Decide if you want to paint or stain your project, and choose from products offered at your home improvement store. Pay attention to what you’re buying, use scraps to test your product, and be sure you read the instructions. We chose to go with a Mahogany stain which looked like dark brown on the picture but came out black. Had we tested the stain on our scrap wood, we would have known!We also didn’t know how to properly use stain; apparently you’re supposed to put it on then wipe off the excess, but we just put on layer after layer, like paint. In fact, our finished results looks more like a painted rather than stained table, but we initially wanted something that would allow the wood grain to come through. Another note – if you use oil-based stain, you might have to shake the can first. What was I thinking? I didn’t read the instructions, as I was thinking it would be the same as using paint. So we stirred it. Later, we realized that perhaps it should have been shaken to the get the oil and other liquid mixed better. The last layer we applied was a lot shinier and more gooey than the others, and I reckon it was because the stain was not properly shaken and most of the oil was at the bottom of the can.
All in all, we were satisfied with the project, and I told my daughter that there were “no mistakes made, only lessons learned.” That same evening (before we applied the stain), the two of us drove to Starbucks for coffee, because what else do you need a coffee table for?